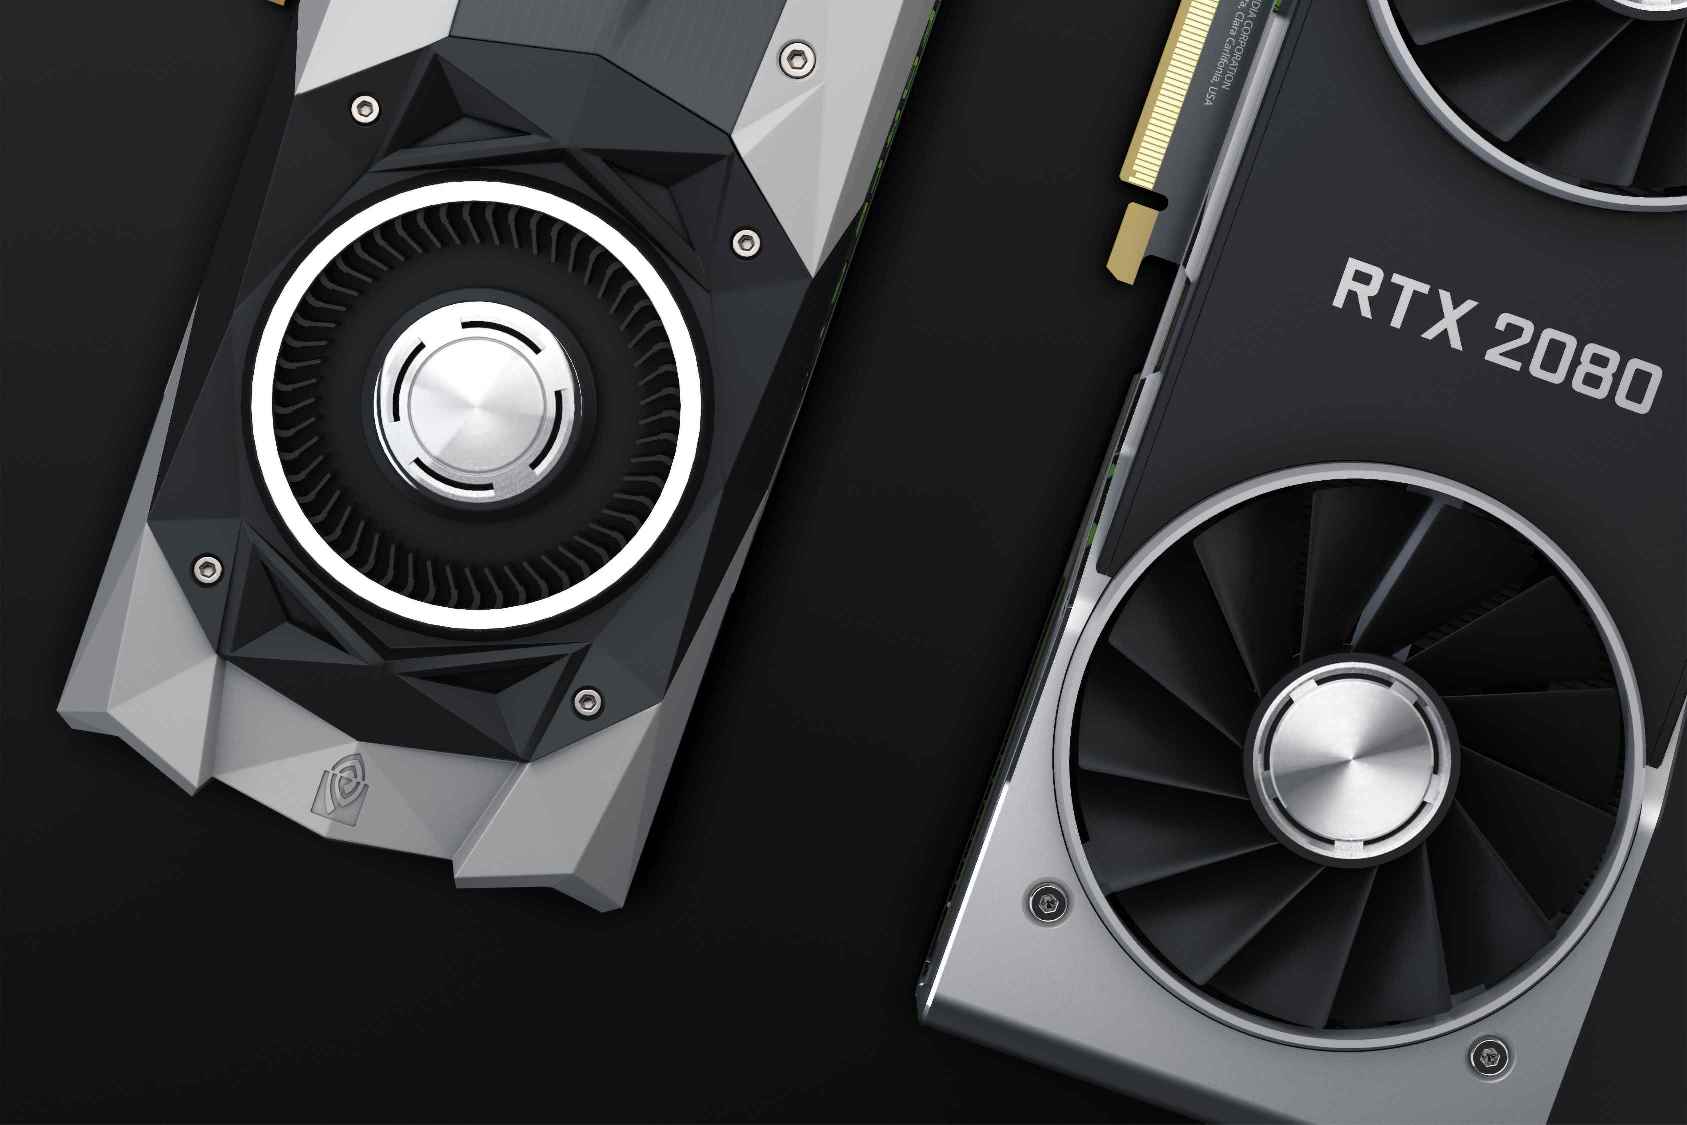
Gamers will require laptops to play games seamlessly, including demanding PC games. An essential component for decoding such games is the graphics card. Most laptops in the market have graphics processing units (GPUs) from AMD, NVIDIA, or INTEL. However, a common question that a gamer should ask themselves is how to ensure that their laptop is utilizing the appropriate graphics card for gaming.
This is particularly important because of you don’t have a powerful enough GPU, it might be impossible to play new games. This article offers a guide to gamers on how to ensure they have a seamless gaming experience through the use of the dedicated graphics card and performing system upgrades.
How to use a dedicated graphics card instead of an integrated laptop
Your dedicated graphics card determines the software that is responsible for switching graphics. If you have an AMD, the AMD Radeon Software is responsible. If you have an NVIDIA, the NVIDIA control panel is in charge. Below, the steps of switching to either software are covered.
The very first thing should always be identifying the program.
Identify your game’s executable
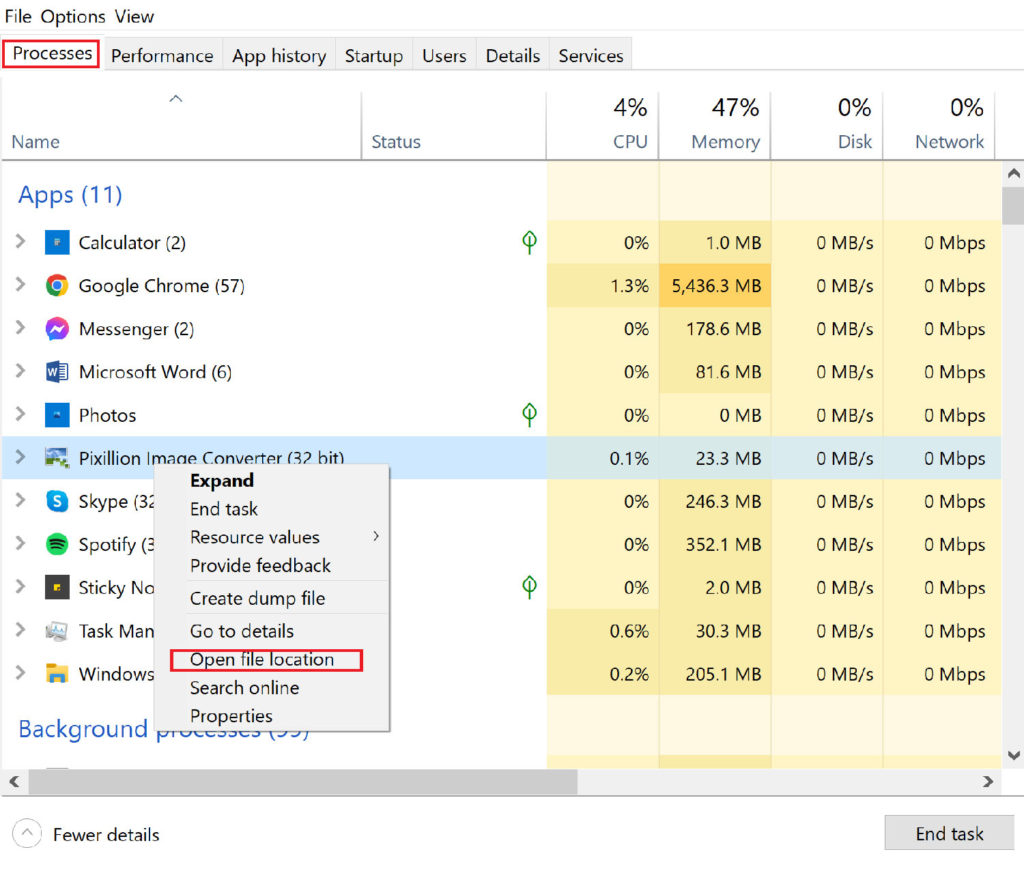
While mostly the executable or .exe file that runs the game is obvious as it mostly goes by a name such as GAMENAME.exe, this is not always the case. The surest method to know the process responsible for running the game is by use of the task manager. Stepwise, proceed as follows.
- Launch the video game
- After the video game has fully launched, minimize it. You can achieve this by using the WIN+D command.
- Proceed to search for task manager in the start menu or press the Ctrl + Shift + Esc keys.
- Locate the game process and right-click on it.
- Select Open file location from the menu.
- A window opens in explorer from which you’ll see the executable file while in its location. That file is the one that you are required to give instructions to utilize the dedicated graphics card.

Changing the setting on the AMD Radeon software
After you’ve located the file and its location, you can add it to your graphics control panel and set it to utilize the dedicated graphics card throughout. If you have an AMD graphics card on your machine, you’ll be required to add the game to the AMD Radeon Software. Here you can set it to the Gaming profile.
- While on the desktop, Right-click
- Select the AMD Radeon software from the menu. On Windows 11, select the show more option and then the AMD Radeon software.
- From the top inside the AMD Radeon Software, select the gaming ab.
- You’ll see three vertical dots on the right, select them, and click Add A-game.
- Select the file with the game and then click open. This adds the game and then proceeds to the game’s settings page.
- On graphics, clicks Graphics profile and choose gaming.
Your video game is now using the dedicated graphics card. The AMD graphics card will be handling the processing work.
Altering the settings on the NVIDIA control panel
This can be achieved via the NVIDIA graphics card’s NVIDIA control panel. Below is the procedure
- While on your desktop, right-click.
- Choose the NVIDIA control panel from the menu from windows 11, choose the show more option, and choose the NVIDIA control panel.
- From the left bar in the NVIDIA control panel, select manage 3D settings.
- Proceed to click program settings.
- Click Add on the select a program to customize. A limited list of your programs will be opened.
- Click on the browse in the Add window.
- Proceed to the file location you located in the previous step and select the game file.
- Click open to have your game appear on the program list.
- Choose the High-performance NVIDIA processor under this program and select the preferred graphics processor.
- Lastly, click on Apply from the bottom right.
Your game can now use the dedicated graphics card, ensuring you get better performance.
Ways to improve your laptop gaming performance
In addition to using the dedicated graphics card, there are some other ways you can boost your laptop’s performance, ensuring you can run the games you want to play.
Upgrade your laptop
One major way to increase your laptop speed for gaming is installing new hardware. There are three main parts that you can upgrade on your laptop which are.
- Storage: By replacing the hard disk with a solid-state drive (SSD). This will considerably increase your machine’s gaming performance.
- Battery: Laptop batteries cannot always ensure the laptop runs for the entire gaming period, especially when full settings are enabled. Consider replacing such batteries with more powerful ones.
- Ram: Upgrading to a fast and high storage capacity RAM can positively affect your gaming experience.
Overclock the Graphics card
Overclocking is among the best ways to improve your gaming graphics experience on your laptop. While overclocking can be risky for beginners, it helps force additional performance on the graphics car. There are available tools that will help you with overclocking.
Switch to Windows Game mode
Windows 10 and the subsequent windows versions have an Xbox app that incorporates streaming, screen recording, and game mode features. By simply activating the Game mode and Game bar, you can optimize your laptop for gaming. Proceed as below.
- Use the WIN+ I or click start > Settings
- Click gaming > Xbox Game Bar
- Then switch to On IMAGE
- In the left-hand pane, select Game mode
- Proceed to switch it ON
- Finish by Closing.
- Now, you can at any point press WIN + G, which displays the Xbox panel. If a prompt appears, click on yes, this is a game box.
Enabling Game mode helps windows to run games at optimum performance.
Final word
Every gaming enthusiast loves a seamless gaming experience. However, at times our laptops might limit the experience we get. This article explains stepwise what you need to get a seamless gaming experience, from using the dedicated graphics card to upgrading your machine’s system.

