On a laptop, i.e., a portable computer, the Power button is located in the upper right section of the keyboard. But how does the laptop power button work?
Find and press the Power button once. This action signals the Basic Input Output System (BIOS) of the computer to supply power by turning on the computer’s brain.
This is when the startup procedure begins (i.e., the fans start rolling, the display comes up, and the essential hardware is initialized). It’s that simple!
What is a laptop power button, and how does it work?
A laptop power button is a small, usually oval, rectangular, or round push button that completes an electric circuit of the laptop’s mainboard when pressed.
Pressing the power button signals the Basic Input Output System (BIOS) of the central processing unit (CPU) or processor to supply power or begin initialization.
After this, the BIOS will begin interfacing with the various hardware of the laptop. In essence, the BIOS works hand in hand with the power button. But what is the BIOS?
What is the BIOS, and what role does it perform during startup?
The BIOS (Basic Input Output System) is a small program located in several different types of computer memory. First, a part is in a ROM memory (Read Only Memory). This part cannot be modified (this is the boot block). The second part of the BIOS is located in a memory whose contents can be modified (the EEPROM). We modify this part when we speak of the term “flashing.” Finally, the third part of the BIOS is located in the CMOS memory. This memory contains all the BIOS settings.
To communicate with hardware devices, an operating system uses drivers. It loads the drivers on every boot. This is actually the role of the BIOS. The BIOS, during startup, will load all basic hardware of the computer and perform a system test. This startup phase is called POST (Power On Self Test)
This is what POST does on startup:
- It conducts a CPU test and checks the BIOS.
- It seeks to recover the BIOS settings and will therefore check the contents of the CMOS memory
- It initializes the internal clock and the DMA controller
- It controls the proper functioning of memories (live and cache)
- It checks the various hardware: graphics card, hard disks, floppy drives, and CD-ROMs. If a problem occurs, the BIOS gives the source of the issue according to the number of beeps it emits.
- It distributes the different IRQs and DMA channels available between all devices.
Note: Sometimes blamed for its vulnerability, the BIOS is gradually disappearing from some computers. An alternative, the UEFI interface (Unified Extensible Firmware Interface), is now presented as its successor.
How to start your laptop with the power button
Computers play a vital role in modern society; they are used for watching TV, playing games, browsing, and for professional work!
However, not all users have the same computer skills; For some, even turning on the device could be a problem; for others, it is as simple as drinking a glass of water. But here’s an explanation of how to use the power button during startup:
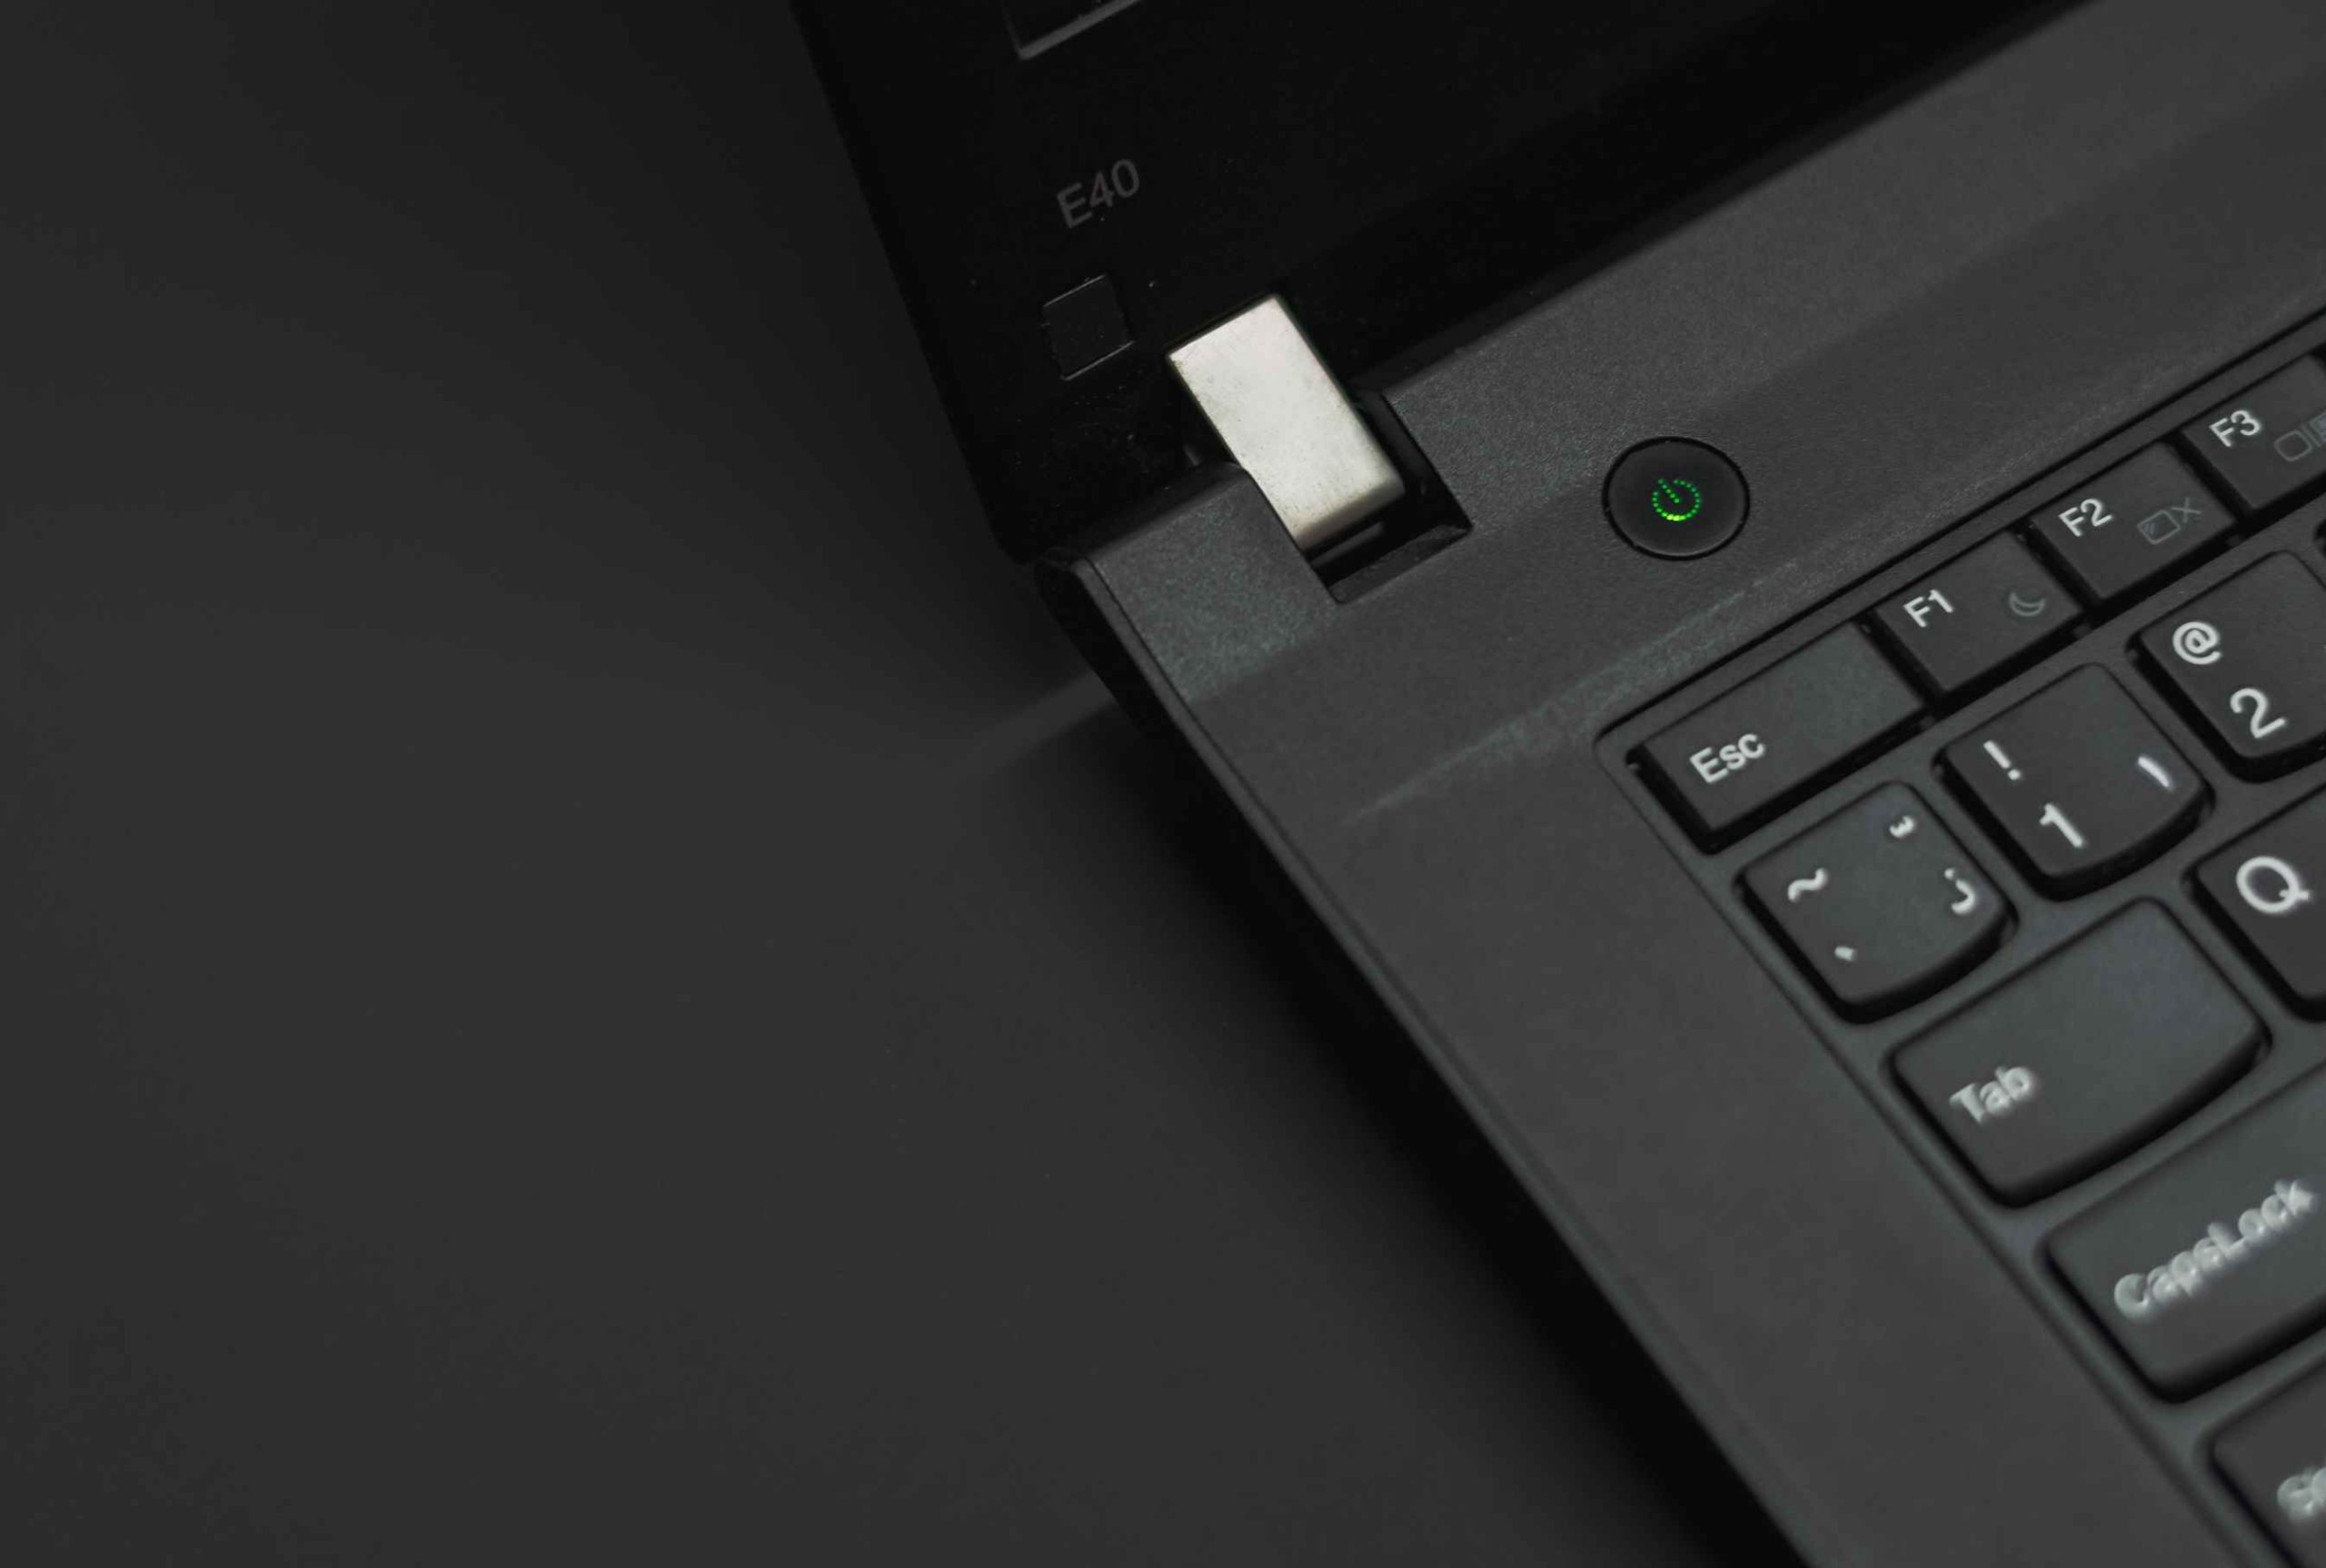
Step 1: Find the power button
After opening the laptop, you can find the power button above the keyboard in the middle or one of the two upper corners (the left or right).
Step 2: Turn on the computer
Once you find the power button, press it to power the device, and the computer will start the Basic Input Output System (BIOS) process.
As earlier explained, this stage of startup tells the computer “brain” what to do, for example, start the operating system, give a keyboard error, shut down the instrument due to overheating, and so on; without this system, the computer would be soulless and therefore useless.
Step 3: Wait for the operating system to load
Depending on the speed of the laptop model, this may take some time; you usually do not need to intervene with any commands unless the computer has problems starting up, in which case you must select one of the recovery options.
Step 4: Log in to the operating system
If you have set a password, a window should appear asking you to enter it; otherwise, the desktop screen opens. At this point, you are ready to use your computer however you like.
Troubleshooting tips
In this case, check that all cables are securely connected, that all sockets are plugged in, and that there is no interruption to the power supply. In addition, ensure the battery is inserted and that the charging lights come on when you insert the plug into the socket.
This means that the system has been corrupted, possibly due to a virus, hardware problem, or damaged driver. In most cases, you can fix the problem by reinserting the installation CD and running a repair process; by doing so, all the operating system files will be fixed without any loss of personal ones.
If you’ve just discovered your power button is not working and there’s nothing wrong with the charging adapter, here’s an alternative to starting your computer directly through the BIOS.
1. Remove the charger from the laptop
2. Remove the main battery that is below the laptop
3. Carefully open the cover removing the screws near where the battery was removed.
4. Remove the round metallic battery that resembles a watch battery but is larger.
5. Wait for 5 minutes with the two batteries removed and without being connected to the power
6. After 5 minutes, replace the two batteries, plug the power supply cable, and press F12 to enter the BIOS.
7. Look for the AC POWER option and activate it.
8. Turn it off to close the previously removed cover.
9. Just plug the power supply cable, which will now work as the “ON” key.
Conclusion
We’ve tried to explain what the laptop power button is, how it works, what program facilitates its work, and what happens during the startup process. We hope this explanation helps and that you’ve learned something new.