The modern personal computer, whether it be a laptop or a desktop, remains one of the greatest inventions for 21st-century humans. This device allows its user to perform myriad tasks related to an even greater myriad of specialties. Suffice it to say, laptops and computers are not limited to any specific type of individual.
Whether for work, studying, or entertainment, laptops, and computers are useful to billions of people worldwide. For example, engineers can use them to render various images, design structures, and perform tests to ascertain the viability of such structures using various computations. They can also be used by those who work in companies to calculate profits, keep stock of items, and manage records.
Part of the many uses laptops and computers offer their users comes from using the preinstalled solutions that come with an operating system, such as Microsoft PowerPoint and Microsoft Excel. However, some added functionality requires users to install entirely new programs onto their laptops or computers. So, naturally, the applications in question will differ greatly depending on what the user needs to do.
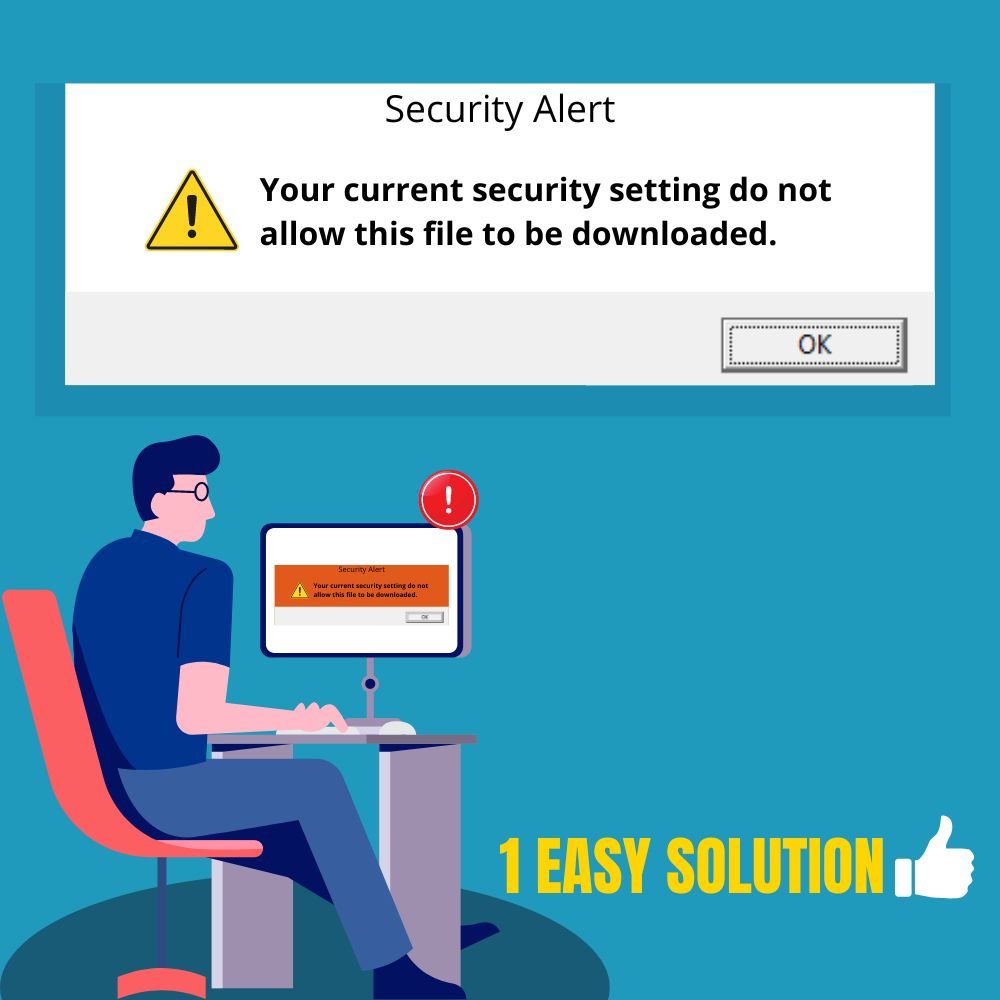
Notable examples of such programs are AutoCAD and Adobe Photoshop, two programs that professionals can use; the former by architects and engineers and the latter by graphic designers and photographers. Hence, experiencing difficulty installing desired programs can be pretty exasperating. When this happens, one may receive an error message that reads, “your security settings do not allow this application to be installed on your computer.”
This issue occurs because a user or application has modified your laptop’s registry to bar it from installing ClickOnce applications.
This article will explain what all this means and how to fix this issue.
What Does the “Security Settings Do Not Allow Installation” Error Mean?
The meaning of this error is that you are barred from installing ClickOnce applications on your laptop or computer. ClickOnce applications are applications built on a special programming protocol called ClickOnce. This programming protocol is packaged in Microsoft’s .Net Framework, which at a basic level can be described as a special program needed for many other programs to be installed.
Hence, all ClickOnce applications are .Net Framework applications but not all .Net Framework applications are ClickOnce applications.
What Causes the “Security Settings Do Not Allow Installation” Error?
This error is always due to alterations to your registry. Your registry is a database on your laptop that stores important system settings and data. Usually, when users attempt to install ClickOnce applications, a particular prompt appears asking them if they really wish to.
However, if your registry is altered to make such installations untrusted by your laptop, you will instead get the error message “your security settings do not allow this application to be installed on your computer.” This could be because of:
- Modifications by your employer: Your employer may bar you from installing certain types of applications by setting your registry to consider those applications as untrusted. This is particularly likely if the issue appears on a work computer.
- Modifications by an application: if the issue occurs on a personal device, an unknown application may have performed the above on your device.
You need to modify your registry to solve this problem. Read on for a step-by-step guide on how to do that.
Settings Do Not Allow Application Installation (1 Easy Solution)
One way through which you can bypass the “your security settings do not allow this application to be installed on your computer” message is by using PowerShell in administrator mode to edit the entries in your registry.
Here is the surefire method to fix the error.
Method: Use PowerShell
You can use PowerShell (a tool that grants you greater control over processes in Windows) to modify your registry and make the application you wish to install a trusted one.
Step 1: Move your cursor to the Windows icon located at the bottom left corner of your desktop and right-click it
Step 2: Navigate your cursor to Windows PowerShell (Admin) and click on it; it should be the 8th option when counting from the bottom up.
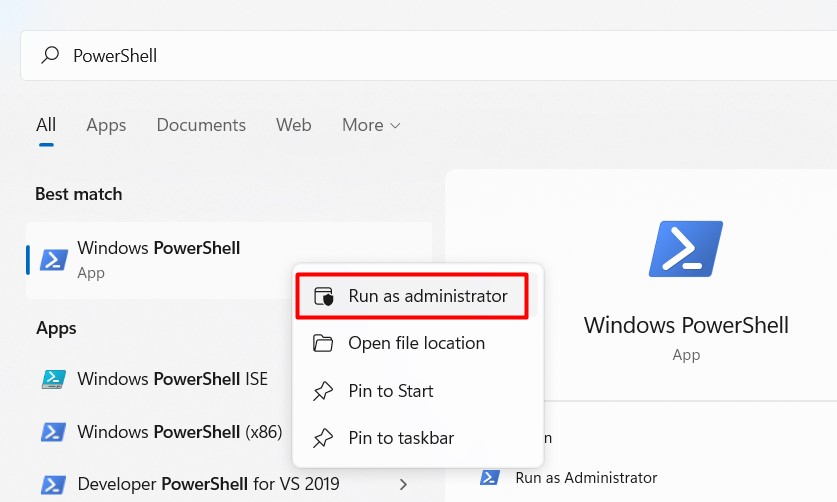
Step 3: On the window that pops up asking if you want to make changes to your system, click Yes
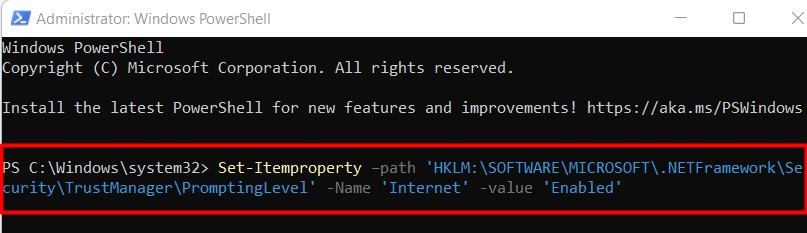
Step 4: In the blue menu that appears, input [Set-Itemproperty –path ‘HKLM:\SOFTWARE\MICROSOFT\.NETFramework\Security\TrustManager\PromptingLevel’ -Name ‘Internet’ -value ‘Enabled’] without the parentheses and press Enter
Next input [Set-Itemproperty –path ‘HKLM:\SOFTWARE\MICROSOFT\.NETFramework\Security\TrustManager\PromptingLevel’ -Name ‘LocalIntranet’ -value ‘Enabled’] without the parentheses and press Enter
Then input [Set-Itemproperty -path ‘HKLM:\SOFTWARE\MICROSOFT\.NETFramework\Security\TrustManager\PromptingLevel’ -Name ‘MyComputer’ -value ‘Enabled’] without the parentheses and press Enter
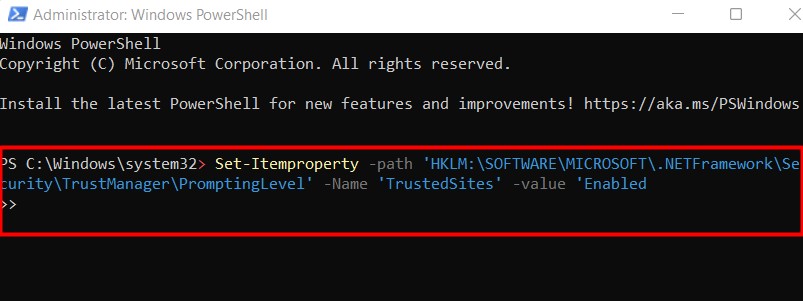
Afterward input, [Set-Itemproperty -path ‘HKLM:\SOFTWARE\MICROSOFT\.NETFramework\Security\TrustManager\PromptingLevel’ -Name ‘TrustedSites’ -value ‘Enabled’] without the parentheses and press Enter
Finally, input [Set-Itemproperty -path ‘HKLM:\SOFTWARE\MICROSOFT\.NETFramework\Security\TrustManager\PromptingLevel’ -Name ‘UntrustedSites’ -value ‘Disabled’] without the parentheses and press Enter
When doing this, ensure every string of text (each string of text starts with “Set” and ends with either ‘enabled’ or ‘disabled’) is on a single line. Also, ensure there is a single space between the “-path” and “‘HKLM” on each line.
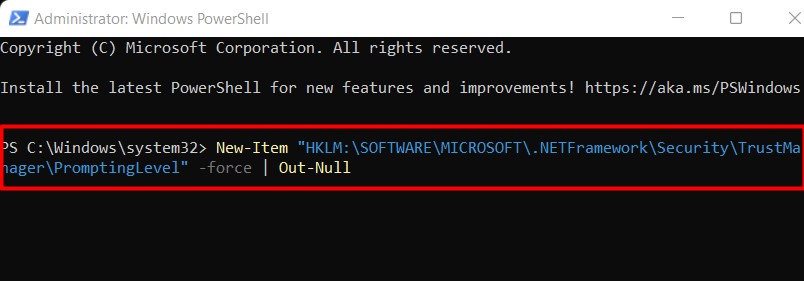
Step 5: If the above does not work, it might mean your laptop uses a different registry location from the one in step 4. Hence, input this instead:
[New-Item “HKLM:\SOFTWARE\MICROSOFT\.NETFramework\Security\TrustManager\PromptingLevel” -force | Out-Null] without the parentheses and press Enter
Next input [New-ItemProperty -path ‘HKLM:\SOFTWARE\MICROSOFT\.NETFramework\Security\TrustManager\PromptingLevel’ -Name ‘Internet’ -value ‘Enabled’] without the parentheses and press Enter
Then input [New-ItemProperty -path ‘HKLM:\SOFTWARE\MICROSOFT\.NETFramework\Security\TrustManager\PromptingLevel’ -Name ‘LocalIntranet’ -value ‘Enabled’] without the parentheses and press Enter
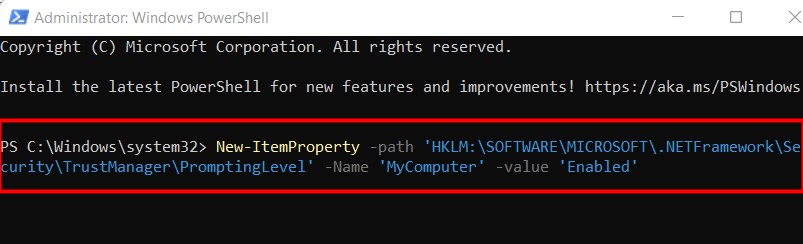
Afterward input [New-ItemProperty -path ‘HKLM:\SOFTWARE\MICROSOFT\.NETFramework\Security\TrustManager\PromptingLevel’ -Name ‘MyComputer’ -value ‘Enabled’] without the parentheses and press Enter
Next input [New-ItemProperty -path ‘HKLM:\SOFTWARE\MICROSOFT\.NETFramework\Security\TrustManager\PromptingLevel’ -Name ‘TrustedSites’ -value ‘Enabled’] without the parentheses and press Enter
Finally, input [New-ItemProperty -path ‘HKLM:\SOFTWARE\MICROSOFT\.NETFramework\Security\TrustManager\PromptingLevel’ -Name ‘UntrustedSites’ -value ‘Disabled’] without the parentheses and press Enter
Step 6: Go ahead and install the program.
Final Thoughts
One possible way through which you can bypass the “your security settings do not allow this application to be installed on your computer” message is by using PowerShell in administrator mode to edit the entries in your registry.
Frequently Asked Questions
1.Right-click the executable file for the application in question
2. Click on the “Properties” option at the bottom of the menu that appears
3. On the next page, click on the “Compatibility” tab
4. At the bottom of the tab, click the checkbox beside “run this program as an administrator.”
5. Next, click “Apply” and then “Ok.”
6. Try to run the application again
If you are unable to install any applications on Windows despite concerted efforts on your part, take these simple steps to fix the issue.
1. Move your cursor to the Windows icon located at the left corner of your taskbar (bottom left corner of your desktop) and click on it.
2. Once the popup menu appears, click on the Cogwheel icon that’s flush with the left side of the page; it represents Settings.
3. On the settings page, look for Apps (it’s on the left side of the page in the middle row), and click on it.
4. On the Apps and Features page, you’ll see “choose where to get apps” at the very top. Click the box under it and set it to “Anywhere.”