A clean Windows installation, reinstallation, or dual boot can encounter all kinds of errors, including “Windows cannot be installed to this disk.”
The error “Windows cannot be installed to this disk. This computer’s hardware may not support booting to this disk. Ensure the disk’s controller is enabled in the computer’s BIOS menu” is denoted with the code 0x80300001. It shows that Windows is unable to install to the selected hard disk location.
The error may show that your PC’s BIOS setting is improperly configured. The error is common when installing Windows Server 2008/R2 Enterprise Server or Data Center edition to a raw disk using a DVD or CD. The default SAN policy for new Windows installation is Offline Shared, giving it read-only and offline properties.
This means that raw disks aren’t detected as Boot or System disks. Therefore, installing Windows to raw disks triggers the error “Windows cannot be installed to this disk. In this article, we look into the various causes of this error during Windows installation and offer some quick solutions to solve the problem.
Causes of the Error “Windows Cannot Be Installed to This Disk. This Computer’s Hardware May Not Support Booting to This Disk.”
Some common causes of this Windows installation error include enabled hard disk protection and incorrectly set SATA Controller mode.
How to Fix the Error “Windows Cannot Be Installed to This Disk. The Computer’s Hardware May Not Support Booting”
Remove or Disable Hard Disk Protection
When buying a new hard disk or computer, ensure that HDD protection is removed before walking out with your device. Turn off your hard drive encryption or decrypt it using the tool used to protect it, such as Bit Locker.
Factory Reset the SAN Policy
Set up the default SAN policy to “OnlineAll” to fix the problem – type SAN POLICY=OnlineAll at the command prompt to change the settings. Opt for this solution if your computer’s hard disk isn’t shared online to avoid data corruption issues.
Change the Mode of Your Computer’s SATA Controller
Set BIOS to factory settings or change the mode of SATA Controller within the BIOS to resolve this issue. Use the features “Load BIOS Defaults,” “Restore Defaults,” and “Load Optimal Defaults” to reset your BIOS to factory settings.
Change the mode of your hard disk’s controller in BIOS if the factory resetting fix doesn’t work. Switch from an IDE state to AHCI mode or vice versa, but if the option “Compatible” or “Compatibility” is available, opt for it.
Ensure the Disk’s Controller is Enabled in the Computer’s BIOS Menu
1) How to Enable Disk Controller in BIOS
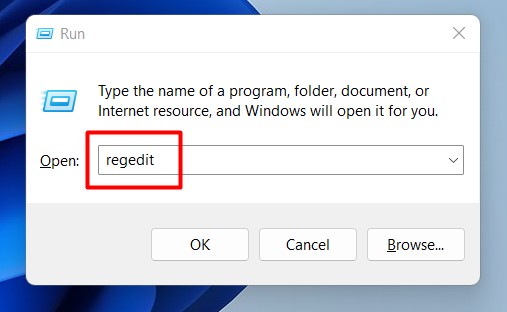
Step 1: Right-click on the “Start” menu and select “Run” or press Windows + R keys at once.
Step 2: Type “regedit” and hit the “Enter” key to run the Registry Editor.
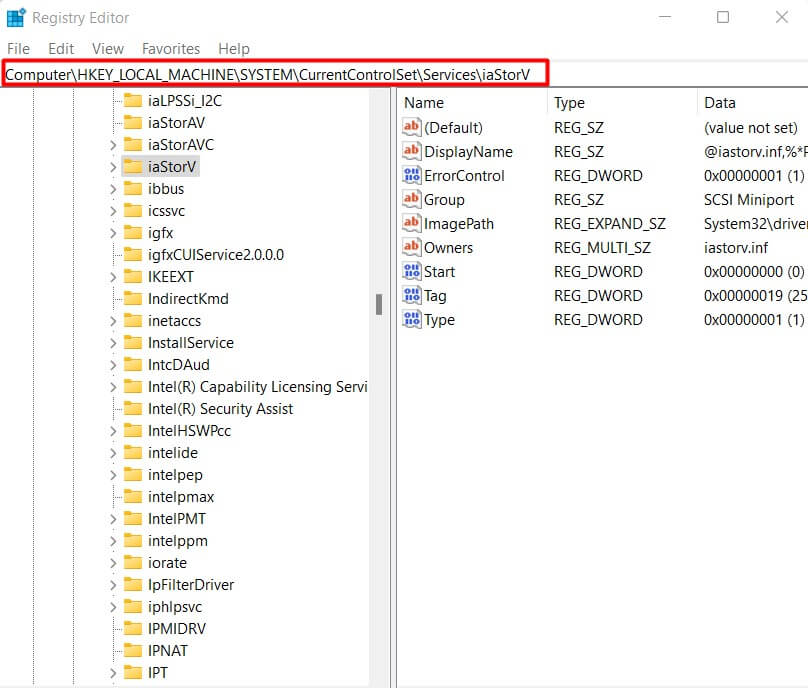
Step 3: Navigate to the “HKEY_LOCAL_MACHINE\ SYSTEM\ CurrentControlSet\ Services\ iaStorV“ section.
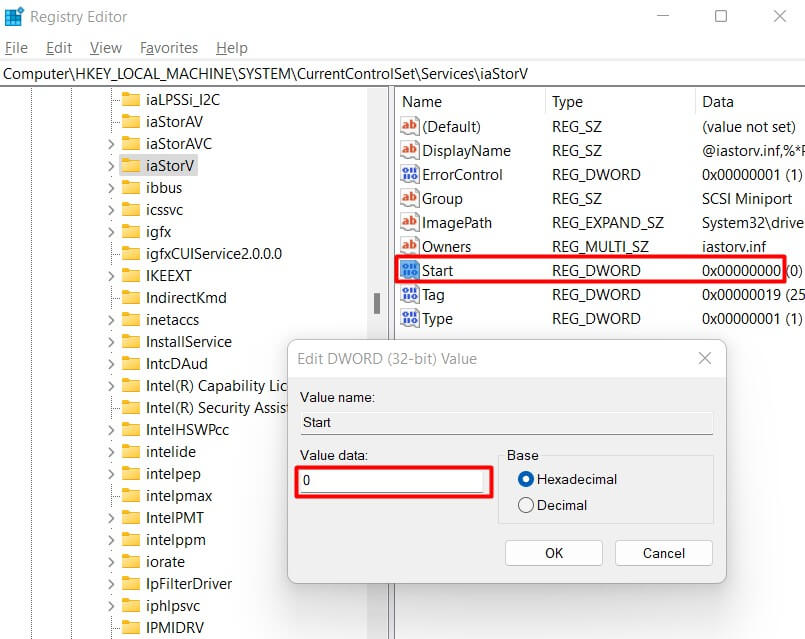
Step 4: Click on the “Start” icon twice and set the value to 0 (zero.)
Step 5: Set the section “HKEY_LOCAL_MACHINE\ SYSTEM\ CurrentControlSet\ Services\ iaStorAV\ StartOverride “ to a value of zero.
Step 6: Set the start element of the section “HKEY_LOCAL_MACHINE\ SYSTEM\ CurrentControlSet\ Services\ storahci “ to zero.
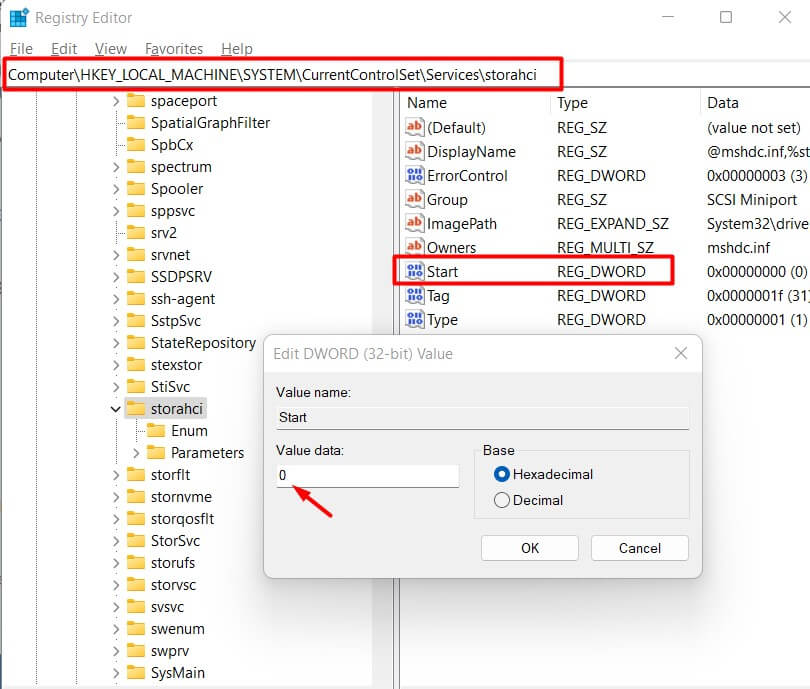
Step 7: Set the “HKEY_LOCAL_MACHINE\ SYSTEM\ CurrentControlSet\ Services\ storahci\ StartOverride “ subsection to a value of zero.
Step 8: Close the Registry Editor window
Step 9: Restart your computer and start UEFI or BIOS in safe mode.
Step 10: Find SATA settings and select a suitable memory device mode. Change all modes to AHCI or IDE as appropriate and save the changes.

Step 11: Restart your computer to reflect the changes.
Windows will begin to install SATA drivers and prompt for a system restart when done. This process enables AHCI or IDE mode in BIOS to solve the error. Another way to enable the disk controller is by using the command prompt.
2) How to Enable Disk Controller in BIOS Using CMD as an Admin
Step 1: Right-click the “Start” menu and select “Run” then type “cmd” and press “Enter” to launch the command prompt.
Step 2: Type the command “bcdedit /set {current} safe boot minimal” at the command line and hit the “Enter” key.

Step 3: Restart your PC once the operation completes. Use the procedure above to enable the disk controller in UEFI or BIOS and save settings changes before the system restarts.
Step 4: Restart your computer in safe mode and install the necessary drivers.
Step 5: Open the command prompt again and type the command “bcdedit / deletevalue {current} safeboot” as an admin.
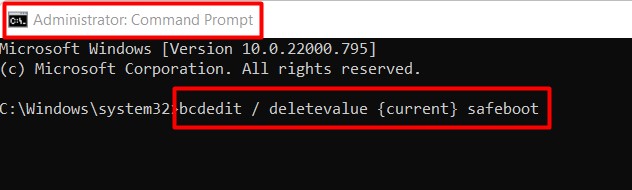
Step 6: Hit the “Enter” key to execute the command and reboot your computer when it completes. Your PC will restart with AHCI enabled and with no restrictions.
How to Solve the “Windows Cannot Be Installed to This Disk. The Selected Disk Has an MBR Partition Table” Error
When installing later versions of Windows, you may encounter the error “Windows cannot be installed on this disk. The selected disk has an MBR partition table.” The message can further indicate that Windows can only be installed on GPT disks on EFI systems.
GPT and MBR disks can be used as Windows booting drives, but Microsoft states that the operating system can only be loaded onto GPT disks. This explains why Windows can’t be installed on MBR disks on EFI systems. Therefore, you must convert an MBR disk to a GPT disk to install Windows successfully on it.
Convert MBR Disks to GPT Disks to Resolve the Windows Error
Use an online converter such as Partition Wizard to convert an MBR disk to a GPT disk. Alternatively, replace the MBR disk with a GPT disk to successfully load your Windows operating system.
Conclusion
“Windows cannot be installed on this disk. This computer’s hardware may not support booting to this disk. Ensure the disk’s controller is enabled in the computer’s BIOS menu” is a common error during Windows installation.
You can reset the SAN policy to factory settings, remove protection from your hard disk or enable the disk controller in BIOS to solve this problem. We hope that this article helped resolve your issue.